top of page

HOW TO: LIGHT PAINTING
Light painting, or light drawing, is a photographic technique in which exposures are made by moving a hand-held light source while taking a long exposure photograph, either to illuminate a subject or to shine a point of light directly at the camera.


JanLeonardo


This here is JanLeonardo. JanLeonardo (Born Jan Wöllert, 30th July 1970, Cuxhaven) is a German Photographer, author and speaker of fine-art Photography. He started off as a self-educated person in photography, preferably working at nighttime. Later on he became assistant of Reinhart-Wolf- Award laureate Stephan Meyer-Bergfeld. I feel like his work is unique and somewhat retro. I really like the ones above (that's why I chose them). It kind of reminds me of music. I feel like if these pictures were in a music video it'd be really cool. I think they'd also look cool in my bedroom, as I am a lover of posters and fasinated in Light Painting. The way he made the lights move in the last picture is really clever and the one next to that must of taken a long time to make it perfect since there is a lot of colours and difficult shapes and structures.
I feel like he's a kid at heart. His pictures are colourful, creative and sometimes childish. Drew, my partner, feels happy when looking at the pictures. It gives off a good vibe and a warm, pleasant feeling. I have to admit, some of them look the same but they have one different qualities.
Are you stuck, trying to figure out how you make these amazing photos above? Well, I would be too. Thankfully, I know how this works and you can too if you follow these steps:
Step 1:
First you have to set up your tripod and lighting. It has to be dark and the tripod has to be up.
Step 2:
Next you have to set up your camera. You change the dial to 'M' for 'Manual' and set the lense to 'Bulb'. This will give you unlimited time for exposure. You then go to 'A' for 'Aperture Priority' and set the lense to '30'. This gives you the smallest pin hole. After that you're pretty much ready to go but remember to set the dial back to 'M' or it wouldn't work.
Step 3:
Position yourself and your camera so that you're in frame. When you have the image or letter you want to create, hold the shutter button and don't let go until you have finished your image. When you have done, let go of the shutter and see your results.
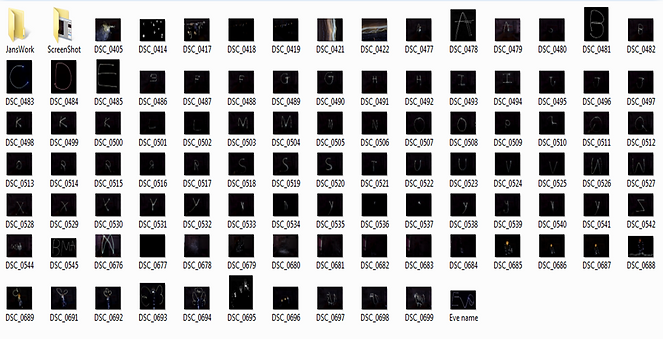
These are some examples of Drew and I doing the alphabet:


As you can see, 'E' is the wrong way round and you can see the classroom at the back. This is where photoshop comes in.


If you want to know how I edited my photos then this is how I did it:
Step 1:
First I opened the picture I wanted to edit on Photoshop. Then, I cut my picture to the size I wanted.
Step 2:
For the next step, I made the back ground black by going onto 'Image' then 'Adjustments' and finally 'Brightness and Contrast'. I turned the Brightness level all the way down and the Contrast level all the way up.
Step 3:
Now you can do as you please! I put a bit of colour in mine to make the writing glow but you can do anything you want really.


GROUP PHOTOS
We have made group photos rather than single photos today. We used the whole class and it was really fun. Me and my partners Drew, Satvinder and Kavita made other pictures as a four and created new pictures.


The first picture is of me, Martha and Ugbad. We decided to do random shapes and just squiggle around. It actually came out well so I kept it. The middle one is of me. I was meant to be an angel but I have to admit, it looks like a butterfly and I like it better than my original idea. Finally, the last on is of myself, Satvinder and Drew. I think this looks really cool and it reminds me of the Adams Family-Which I love.

Now this is our group photo. It's sort of like the one of me, Drew and Satvinder but this time it's the whole class. We look like floating heads and it's really creative in my opinion.
These are my contact sheets down below. Two of them are actually mine but one of them is Drews. This is because I wasn't in on one of the days due to a school trip. For an example however, I will show you my partners.


Remember the picture of all the squiggles from me, Ugbad and Martha? Well I decided to edit it and see what I can come up with.

This was the original piece. You can see the background and it has three different colours or shades, if you will. Me being a vampire towards colour, I decided to change that... I now have a new and improved piece which I have changed to black and white. I think it looks really good, I like black and white photos and it also made the photograph more sharp in a way.

bottom of page